

Renovation journal
Assessing paint and adhesive marks after building work
A small paint spot can be more complicated than a large patch of loose dust. Removing it means interacting with the finish underneath: the glass may have a coating, the timber may be oiled and the cabinet front may be a decorative film. A product that removes the spot can also change the surrounding surface.
- Identify both the mark and the underlying finish
- Check instructions before a controlled compatible test
- Treat persistent residue and damage as different problems
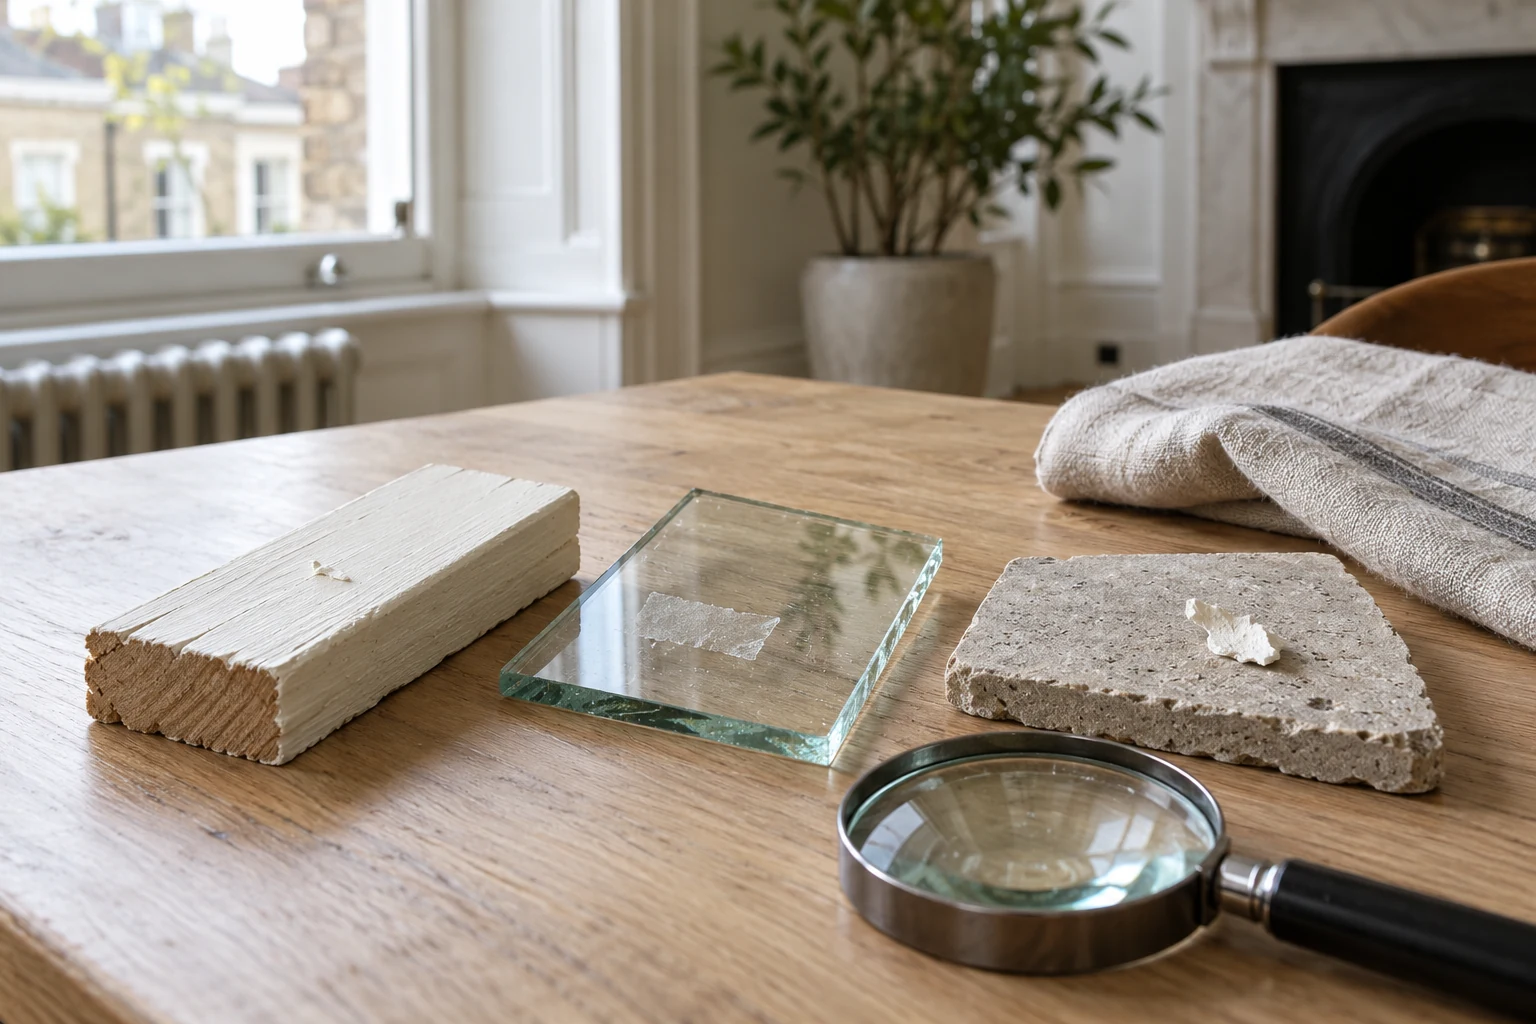
This guide is an assessment framework rather than a set of chemical recipes. It helps you describe the mark, gather the right information and recognise when ordinary cleaning should stop. It does not promise that every paint, adhesive or cement deposit can be removed without affecting the material below it.
Record the mark before changing it
Take a general photograph to show location and a closer one to record the shape and edge of the deposit. Note whether it appeared during painting, floor fitting, glazing or protection removal. Keep the relevant product names, batch labels or installation paperwork where available. These clues are more useful than calling every stubborn spot “builder’s glue”.
Inspect in usable light without picking at the mark. A raised deposit suggests a different problem from a flat change in colour or sheen, but appearance alone does not establish its composition. Do not scratch it with a key or thumbnail as an informal test, especially on a new decorative surface.
If there is any dispute about pre-existing damage or installation responsibility, record the condition and speak to the contractor before treatment. Cleaning should not erase useful information or turn an identifiable defect into a larger altered patch.
- Photograph the deposit before attempting removal.
- Keep the paint, adhesive or installation product name if known.
- Record the receiving surface and its coating or sealer.
- List any cleaner or tool already used on the area.
Identify the finish as carefully as the residue
The base material is only part of the specification. A glass pane can carry a coating or applied film; a timber board can be lacquered, painted, waxed or oiled. Even a familiar stone may have a sealer or treatment that changes the permissible cleaning method.
Ask the installer for written care instructions and any exclusions. Product labels should be checked for the exact material and finish, not just a broad category such as “hard surfaces”. Where instructions conflict or the material is uncertain, obtain clarification rather than averaging two different recommendations.
For a newly fitted kitchen, the cabinet and worktop care guide helps distinguish components that sit beside one another but should not receive the same treatment. A splash across a join may require more than one compatible method, or may need to remain untouched pending advice.
Deal with loose dirt before judging a bonded mark
Remove ordinary loose residue by a controlled method suitable for the assessed dust and surface. Grit around a paint spot can be dragged across the finish during treatment, creating scratches unrelated to the original deposit. A clean surrounding area also makes a change in colour or sheen easier to identify.
Do not confuse that preparation with a universal instruction to dry-sweep. Unknown material and hazardous dust need appropriate assessment. The fine construction-dust guide explains the distinction between collecting particles and spreading them through a room with brushing or unsuitable equipment.
Keep cloths and tools clean, and separate those used around abrasive deposits from those used on delicate finished surfaces. If a deposit has sharp fragments or the material cannot be identified, stop rather than treating the area as an ordinary wipe-down.
Treat paint according to its product and condition
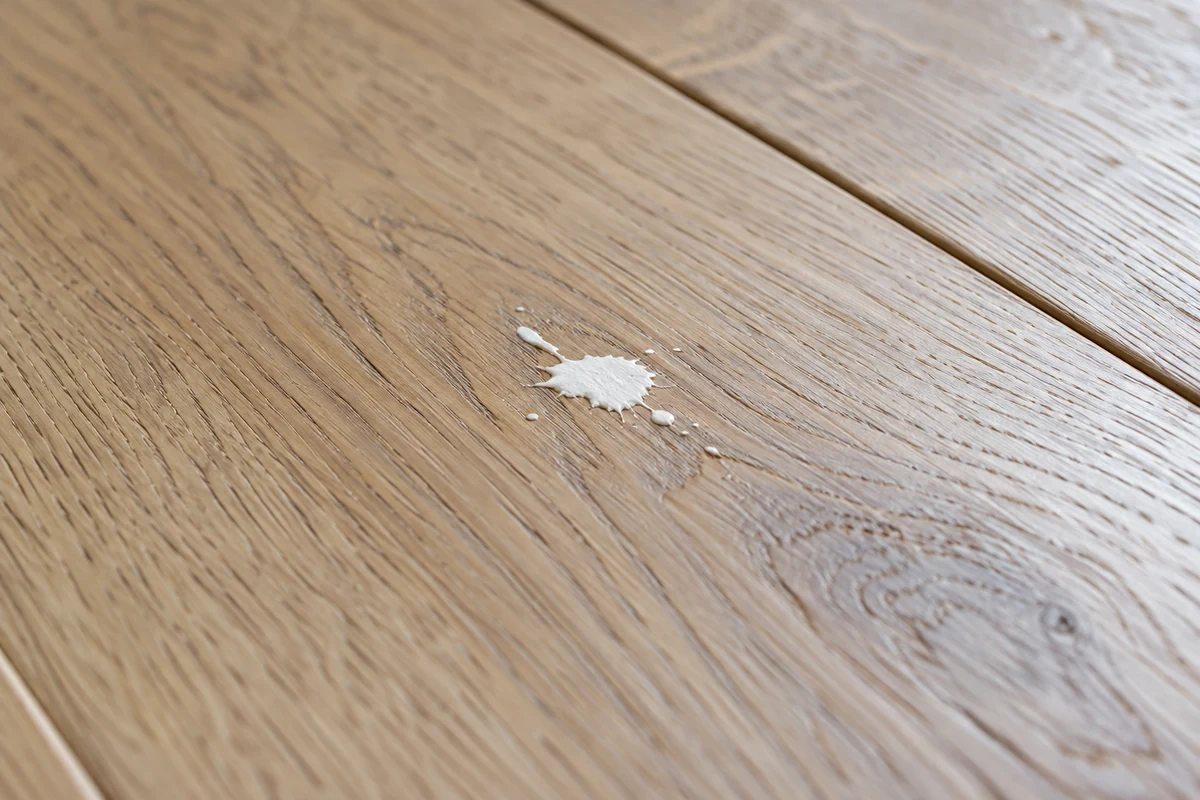
Fresh paint, a cured splash and a mark from another coating are not equivalent. Ask the painter which product was used and where it landed. A surface cleaner should not be selected only because someone remembers that “water-based paint comes off with water”; both the curing stage and the receiving surface matter.
Avoid assuming that alcohol, solvent, abrasive sponge or a general paint remover is safe. These can alter surrounding paint, plastics, seals and decorative finishes. A product may remove the wrong coating more readily than the unwanted spot. Even a plastic scraper can mark a soft or newly finished material.
If an installer-approved treatment is available, follow its instructions, confine the test and inspect after drying. Stop for transferred colour, swelling, tackiness or a change in sheen. Wiping harder is not an appropriate response to a finish beginning to soften.
Read tape marks as a compatibility question
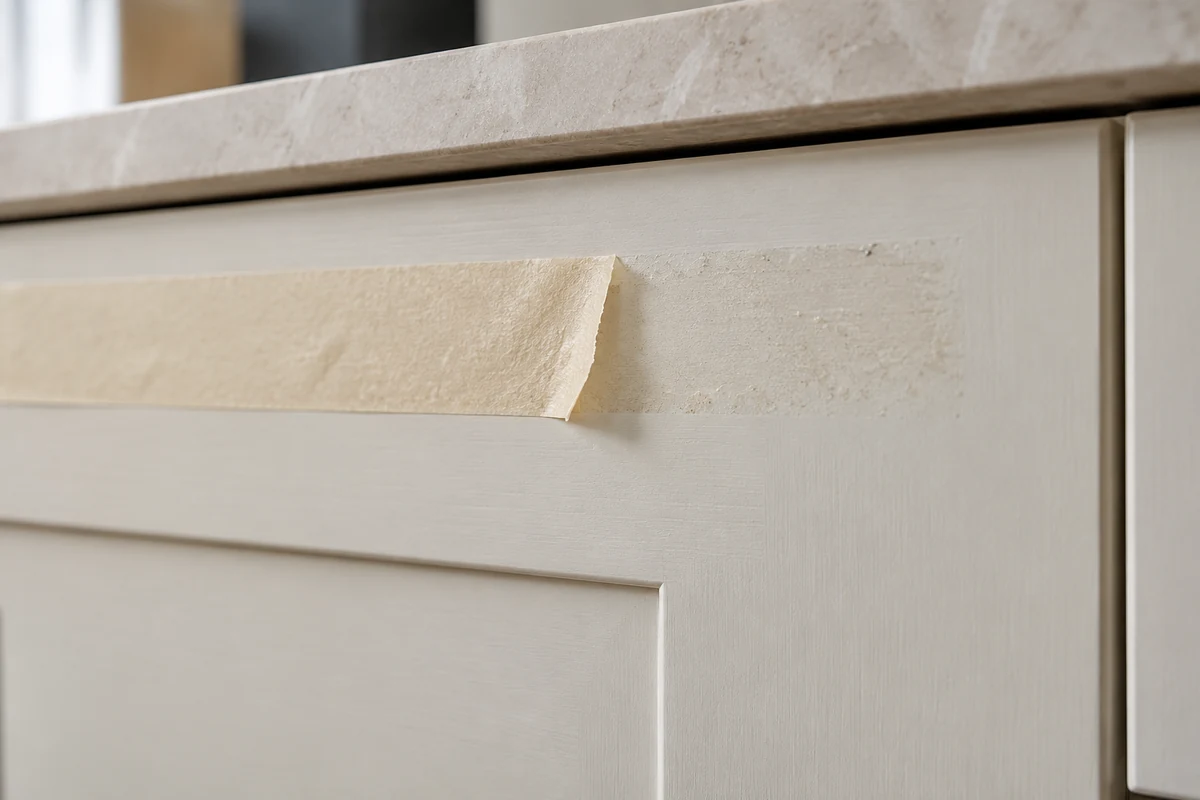
Tape can leave adhesive behind, but it can also pull away paint or change a vulnerable finish. A pale rectangle may be a difference in exposure rather than glue. Establish what was applied, how long it remained and whether the surface was ready for that tape when protection was fitted.
Do not reach automatically for citrus cleaner, oil, heat or solvent. A pleasant-smelling product can still affect plastics, coatings and porous materials; an oily treatment may leave its own stain. Heat can change adhesives and damage adjacent finishes or seals. Check the specific instructions before selecting any of these approaches.
For residual protection on new glazing or joinery, ask the installer about the intended removal method. Retained labels may include required product information, and some films are permanent components. Establish that the item is genuinely temporary before attempting to peel it away.
Use extra caution around glass, stone and metals
Glass is not automatically scraper-safe. Coatings, applied films and surface contamination can change the risk, and dragging trapped particles can scratch the pane. Do not offer a general blade technique for an unidentified window. The window and frame guide sets out the information to obtain before residue treatment is considered.
Stone can be sensitive to acids or staining, while metal finishes can be altered by abrasive pads and unsuitable products. An aggressive treatment may leave a clean-looking but permanently different patch. Identify the finish and any sealer instead of assuming that a mineral deposit requires an acid.
For cement or grout residue, ask the tiler or installer what remains and what removal method the system allows. Specialist residue treatment is a distinct task. Cleaning cannot correct damaged glazing, etched stone or a scratched decorative metal by making the rest equally dull.

Set up a test that can actually tell you something
A controlled test needs a compatible product, a permitted location and a clear way to judge the result. Follow the label for dilution, dwell time, application and removal. Never mix products to make an improvised stronger treatment. Keep the surrounding materials protected by methods that are themselves suitable for those finishes.
Use the smallest appropriate area and inspect it when dry. Compare colour, texture and reflection with the untreated surface. Removing the deposit is only one part of success; the surrounding finish should not become sticky, swollen, faded or rough. If the instructions do not support the test, seek advice instead.
Record the product used and result, particularly before another contractor attends. Repeated unrecorded experiments make a later assessment more difficult and can create a chemical or material-compatibility problem that did not exist at the beginning.
Know what to request from a cleaning provider
Describe the substrate, finish, likely residue and any treatment already attempted. Send photographs and manufacturer instructions. Ask whether the proposed visit covers ordinary cleaning only or includes assessment of specific bonded marks. Do not treat a phrase such as “deep cleaning” as a guarantee of unlimited stain removal.
The post-building cleaning service can help define the accessible surfaces and agree what needs separate attention. Some deposits require installer advice or specialist treatment, and some marks will remain because removing them would damage the finish. Those limitations should be discussed before work starts.
Use the handover preparation guide to confirm access, remaining trades and care instructions before the visit.
Questions about this guide
Does a hidden-area test make every product safe?
No. First establish that the product is permitted for the material and finish. A test helps check a compatible method; it does not override the manufacturer’s exclusions.
Can every paint splash be removed?
No. The outcome depends on the product, condition and underlying finish. Some deposits cannot be removed safely by ordinary cleaning.
Should I let different trades try their own cleaner?
Keep a record and agree responsibility first. Uncoordinated treatments can change the surface and make the original problem harder to assess.