

Renovation journal
How to remove fine dust after construction work
Fine construction dust is easy to move and surprisingly difficult to finish. A floor may look clean while a window track, shelf edge or unpacked lampshade still holds a visible film. The useful question is not how to polish the room faster, but where the particles came from and how to collect them without spreading them through the property.
- Identify the dust and stop further dusty work
- Choose collection methods for both dust and surface
- Check overlooked sources before repeating the clean
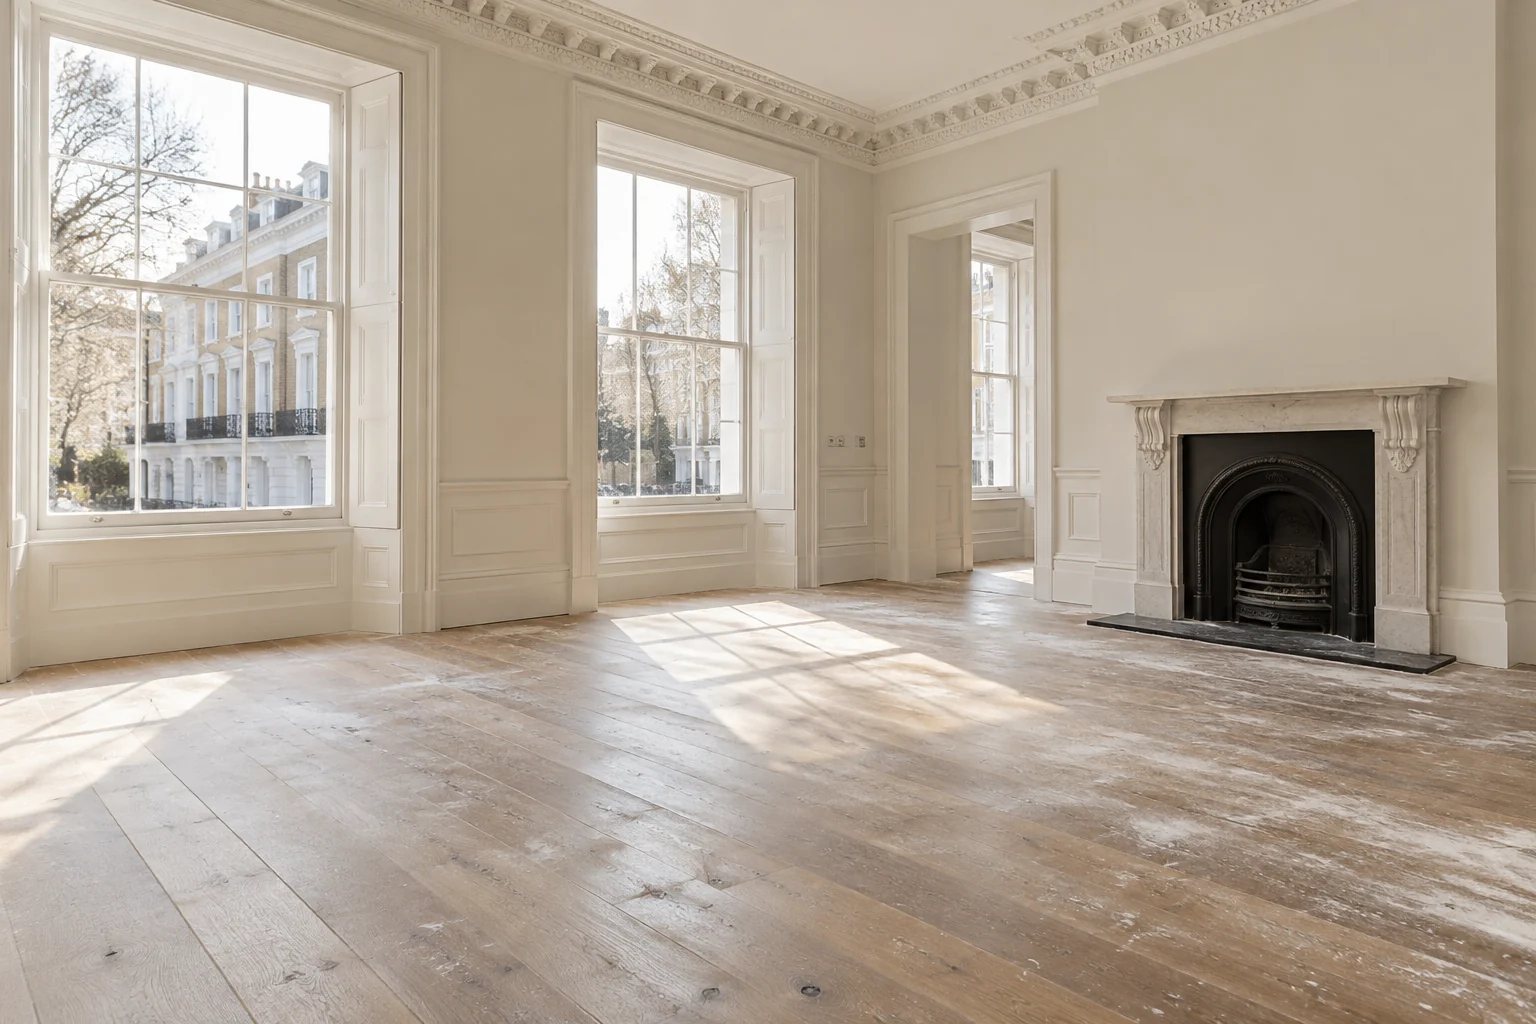
This guide concerns ordinary post-renovation cleaning after the work area has been assessed and handed over. It does not describe asbestos removal, hazardous-dust remediation or a test of indoor air quality. Unknown material, active cutting and significant airborne dust need the contractor’s attention before a normal cleaning plan begins.
Start with the source, not the mop
Ask the builder which activities produced the dust: plaster sanding, timber cutting, tile cutting and demolition leave different materials behind. Do not identify a substance solely by its colour. A pale deposit is not automatically harmless plaster. If older building materials were disturbed, ask what was checked and what clearance information is available before the room is released for cleaning.
HSE treats construction dust as a risk requiring assessment and controls. Ordinary cleaning should follow the relevant assessment rather than replace it. For suspected asbestos, stop disturbing the material and obtain appropriate advice. A household vacuum, an open window or a face covering is not a substitute for a properly controlled specialist response.
For a completed, assessed refurbishment, establish whether any trades will return. Sanding a door after the final clean can spread dust back through a corridor. Put that task ahead of the cleaning appointment where possible; otherwise recognise that the later work will create a new cleaning requirement.
Make the room workable before collecting particles
Remove tools and arrange collection of bulky waste before detailed cleaning. Keep spare tiles, labelled paint and manufacturer instructions separate from rubbish. Do not drag dusty sheeting across a clean floor or shake it in a hallway. Ask the contractor how protective materials should be removed so that the residue they hold is not simply released into adjoining rooms.
Identify a clean route for equipment and a place for used cloths and collected waste. Close off rooms that are already finished, while preserving required access and ventilation. Work around the actual property rather than insisting on a universal room order: a small flat with one exit needs a different route from an empty house with rear access.
Where the main problem is scheduling rather than technique, use the pre-visit preparation guide to agree who clears materials, who supplies access and which rooms are genuinely ready.
- Photograph any deposit the contractor cannot yet identify.
- Keep retained building materials out of the clean equipment area.
- Agree which adjoining rooms must remain closed during the visit.
Match the vacuum to the task
The word “powerful” tells you little about whether a vacuum is suitable for construction dust. Equipment choice depends on the material, quantity and risk assessment, including the required dust class, filtration and collection arrangement. A filter advertised as HEPA does not, by itself, establish that the whole machine is appropriate for every hazardous dust.
For ordinary assessed residue, use suitable equipment in good condition and a clean attachment that will not mark the finish. Follow the equipment instructions for bags, filters and safe emptying. An unsuitable domestic machine can become blocked or release particles through leaks and exhaust. Stop if suction drops, the machine behaves abnormally or visible dust escapes.
Vacuuming is collection, not permission to disturb unknown deposits. Leave inaccessible service voids, electrical enclosures and suspect material to the responsible specialist. Avoid compressed air and vigorous brushing that launch particles into the room.
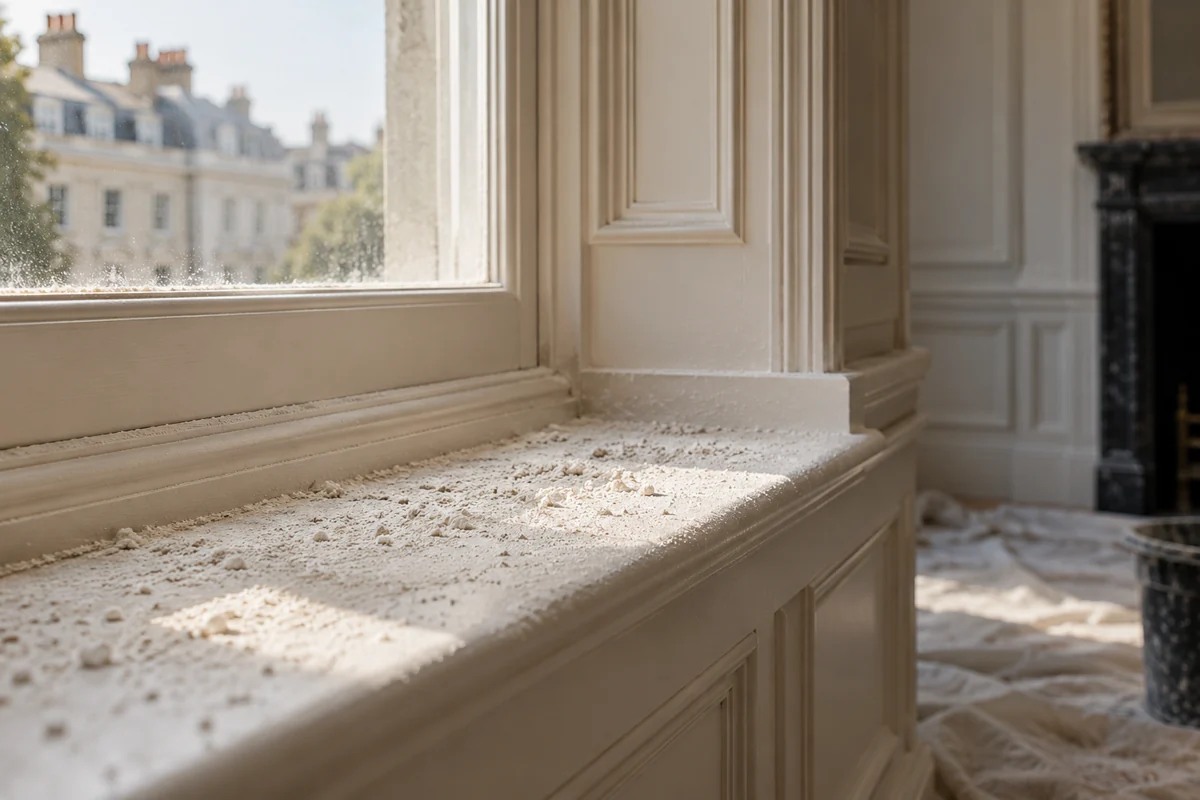
Work through ledges and joinery with control
Begin with accessible upper surfaces that can be reached safely, then move through the room towards lower edges and floors. This is a practical sequence, not a reason to climb furniture or wipe a freshly decorated ceiling. The finish and its curing instructions determine whether that surface can be cleaned at all.
Window sills, door frames, shelf tops, skirting and empty cupboards often need individual attention. Collect loose particles using a suitable attachment; use a clean, appropriately damp cloth afterwards only where the material permits. Fold or change the cloth as it becomes loaded. Rubbing a dirty face repeatedly over a long run of joinery redistributes residue and can mark the coating.
Do not soak joints, switches or unfinished edges. Clean the outside of electrical fittings without introducing moisture, and leave dismantling to a competent person. For cabinet-specific details, see cleaning a kitchen after installation.
Use moisture selectively, rather than following an absolute rule
“Always dry dust first” is too broad. Dry sweeping can raise dust, while excessive water can produce slurry or damage a finish. The appropriate sequence depends on the assessed residue and the material underneath it. Suitable controlled vacuum collection and careful damp cleaning are different from whipping a dry duster around the room.
A barely damp cloth may collect a remaining film from a sealed, compatible surface, but unfinished timber, fresh paint and moisture-sensitive edges need different treatment. Check care instructions and test an inconspicuous area where that test is permitted. Let it dry before judging the result: a darkened patch can hide streaking or a change in sheen.
Use fresh water and the specified cleaner where needed. Adding more detergent to a dusty bucket does not improve particle collection. A sticky film left behind may attract ordinary household dirt and make the next inspection misleading.
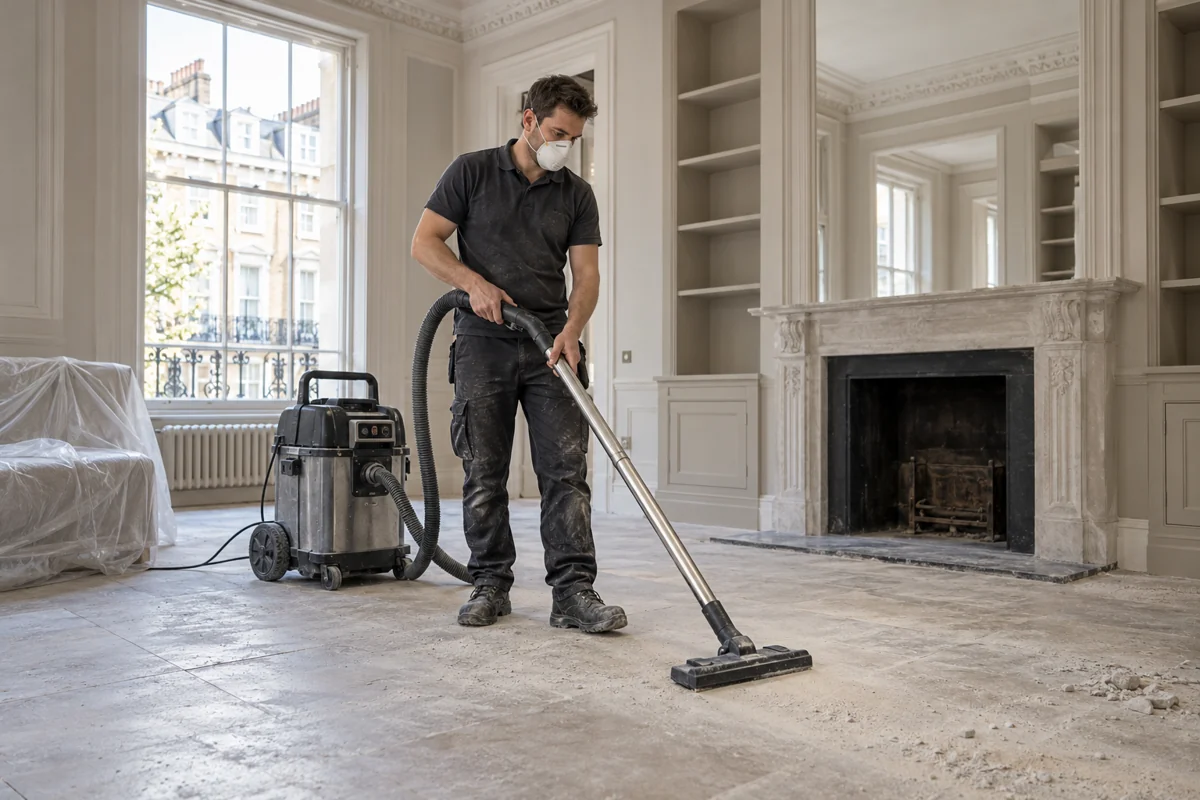
Leave the floor until the room above is addressed
Inspect for grit and sharp fragments before bringing a mop across the floor. Use the correct attachment to collect loose debris without dragging a hard edge over a newly laid finish. Pay particular attention to the perimeter, thresholds and the place where protective covering ended; these boundaries often hold more residue than the centre of the room.
Only then consider a compatible damp-cleaning stage. Newly installed floors may have restrictions relating to adhesive, sealant, oil or grout. Obtain the fitter’s instructions rather than choosing a product simply because its label says “all floors”. Never assume steam, an acidic descaler or an abrasive pad is suitable.
If a mark remains after the loose dust has gone, distinguish residue from a scratch or an installation defect before repeating the process. The new-floor care guide explains why these distinctions matter.
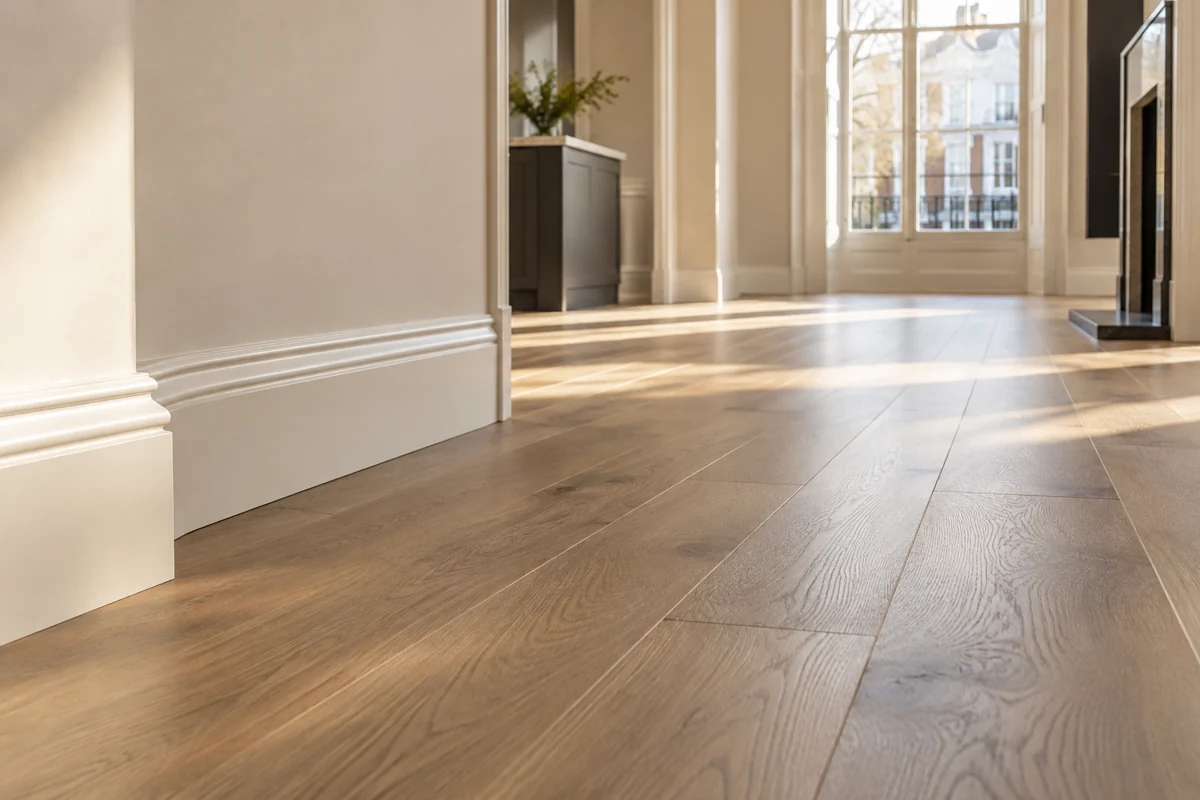
Check fabrics, ventilation grilles and the return route
Curtains, rugs and upholstered furniture need a separate assessment. Follow care labels and use suitable textile attachments; do not shake dusty fabrics through rooms that have just been cleaned. Construction residue embedded in a delicate fabric may justify specialist advice rather than a general-purpose spray or immediate wet extraction.
Accessible ventilation-grille exteriors can hold dust, but cleaning a grille is not the same as cleaning a ventilation system. Ask the installer or maintenance provider about filters and internal components. Do not run equipment with required filters removed, or dismantle an unfamiliar unit to chase a visible deposit.
Finally inspect the entry route and storage area. Dusty footwear, unpacked building supplies or a dirty vacuum wheel can carry residue back over finished floors. Keep cleaning equipment itself under review throughout the job, including attachments and cloth storage.
Understand why a film can return
There is no universal rule that every property needs a second clean exactly twenty-four hours later. A returning film can come from continuing work, disturbed protective sheets, untouched adjoining spaces or materials brought back into the room. Check these explanations before assuming that another identical pass will solve the problem.
Inspect in ordinary daylight and from more than one angle. Note where the deposit appears: one window track suggests a different source from a film across every horizontal surface. Agree any return visit against the actual condition and work programme. A visual inspection records visible cleanliness; it does not certify that hazardous particles are absent.
For help organising a defined scope, discuss the surfaces and residue with the after builders cleaning team. Share photographs and the contractor’s material information, and identify specialist work before agreeing the appointment.
Questions about this guide
Can I use my normal household vacuum?
Only if it is suitable for the assessed material and task. Construction dust may require equipment beyond a domestic machine; ask about dust class, filtration and collection arrangements rather than relying on suction power.
Should I mop plaster dust immediately?
Do not apply one rule to every deposit. Identify the material, collect it using a controlled suitable method and follow the surface instructions before introducing moisture.
Does a clean-looking room prove the air is safe?
No. Visible cleanliness and specialist air assessment are different matters. Unknown or hazardous material needs appropriate assessment before ordinary cleaning.