

Renovation journal
Cleaning windows and frames after renovation
A window after renovation is an assembly of surfaces, not just a pane to polish. Dust collects in frame corners and tracks, paint can land on glass and temporary protection can leave marks on a coated frame. The first clean needs to distinguish those conditions before tools and products are chosen.
- Inspect panes, frames, sills and accessible tracks separately
- Identify coatings and protection before residue treatment
- Agree which faces and access arrangements are included

This guide covers the practical questions for an ordinary post-building window clean. It does not provide a universal scraping technique or instructions for work at height. Identify the glazing and frame finish, check the installation handover and agree access before attempting residue removal or booking a specialist visit.
Identify what has actually been installed
Ask for the glazing and frame specifications, including any coatings, applied films, decorative finishes or recent paint. Appearance is not a reliable guide to whether a pane can tolerate a blade or a frame can tolerate a solvent. Similar-looking windows can have different cleaning restrictions.
Check whether protective labels or films are temporary and who is responsible for removal. Some information may be required for identification, while other films are permanent components. Do not peel an unfamiliar layer away simply because it has an edge that can be lifted.
Keep the installer’s care guidance with photographs of the initial condition. Record chips, scratches, damaged seals and incomplete work before cleaning changes the view. An installation defect should remain an installation question rather than becoming a challenge to remove every visible mark.
Separate loose dust from bonded construction residue
Inspect each component in useful light. A loose film on the sill, a gritty track and a paint spot on the pane should be recorded as separate tasks. First collect ordinary loose material by a method suitable for the assessed dust and the surface, without dragging particles over glass or decorative finishes.
Do not brush dusty residue vigorously into the room. A clean attachment and controlled collection can be appropriate for ordinary released material, while unknown deposits need further assessment. Keep equipment used on gritty tracks separate from cloths used to finish a clean pane.
The fine-dust guide sets out the wider collection limits. It is particularly useful when window cleaning is part of a whole-property clean, because dust from nearby ledges and unfinished work can return to glass after an apparently final polish.
Clean frames according to their finish
Timber, uPVC, aluminium and other frame materials can carry different coatings and seals. Follow the manufacturer’s instructions for the exact finish rather than applying a general hard-surface cleaner. Newly painted joinery may also have restrictions that differ from the established household-care routine.
Work around corners and accessible edges without flooding joints or introducing moisture into fittings. A dirty cloth can move abrasive particles along a long frame section, so fold or replace it as it becomes loaded. Check the dry result before deciding that a remaining dull area needs more product.
Do not attempt to correct damaged paint, corrosion or a scratched coating by polishing the surrounding surface. These are separate assessment questions. Where the finish is still curing or installation remains incomplete, ask the installer when ordinary cleaning can safely proceed.
Give sills and tracks realistic boundaries
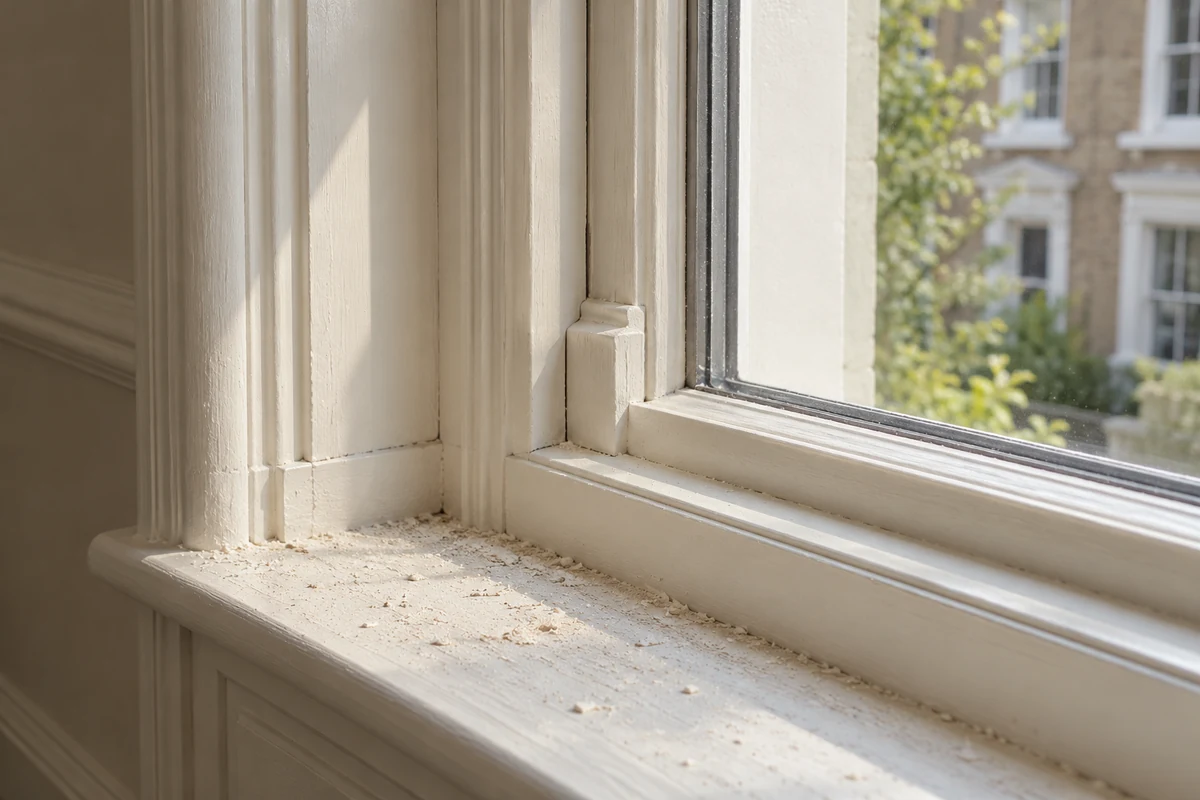
Sills can collect dust, small offcuts and adhesive from protection. Identify the sill material as carefully as the frame: painted timber, stone, laminate and coated metal should not receive one assumed treatment. Inspect edges where water or cleaning solution could collect.
Accessible tracks need controlled removal of loose material before any compatible finishing stage. Do not force tools into mechanisms or dismantle a sliding assembly to reach a deposit. A stiff operation or damaged seal belongs on the installer’s list rather than being treated as evidence of inadequate cleaning.
Ask which opening positions are permitted and who can operate unfamiliar windows. Restrict the scope to safely accessible areas. Dust in a concealed component may need installer access; an ordinary cleaning appointment should state that limitation rather than silently leaving it unexplained.
Do not assume glass is scraper-safe
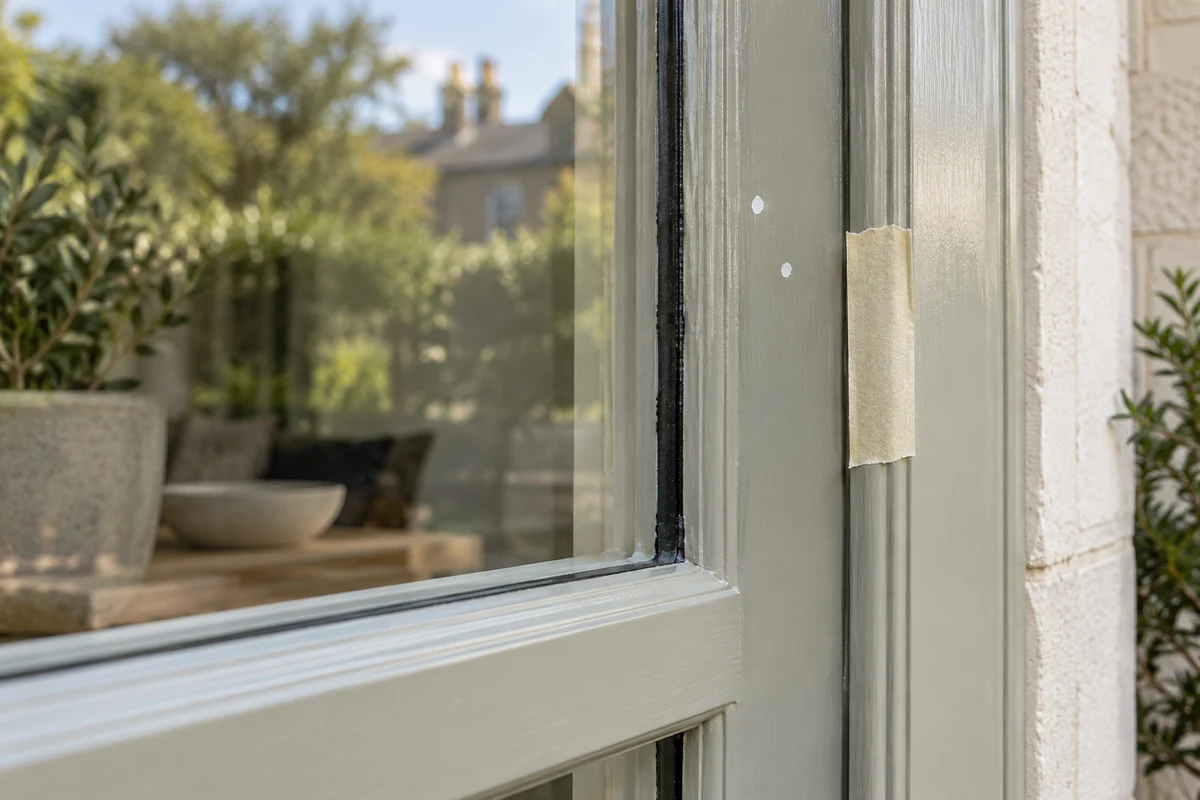
A blade can damage some glass, coatings or films, and trapped particles can cause scratches. Even where a product is described as glass, its surface construction and condition need identification. Do not choose a metal or plastic scraper solely because a spot resists a cloth.
For paint, adhesive, cement or grout deposits, obtain the relevant material and product information. A proposed chemical treatment must be suitable for the pane, frame, seals and nearby finishes. Runoff onto a sensitive sill can create a second problem even if the glass itself tolerates the product.
Use the paint and adhesive assessment guide to prepare a useful record for the installer or specialist. A decision to leave an uncertain deposit pending advice is preferable to an irreversible scratch introduced during an attempt to complete the window quickly.
Choose a glass-cleaning stage for the remaining film
Once the loose residue has been addressed and the surface is suitable, follow the glazing instructions for the ordinary cleaning stage. Use clean compatible tools and a manageable area. Keep gritty cloths and track-cleaning tools away from the finishing process so that removed material is not spread back across the pane.
Check edges and corners for collected solution where the method allows it. Excess product can leave its own film, while a cloth that is already loaded may smear rather than finish. More detergent is not necessarily the answer to a streak that appears only after drying.
Inspect from both a normal room position and a different angle in daylight. Identify whether a mark is on the accessible face, the opposite face or elsewhere in the glazing assembly. A cleaner should not keep treating the inside pane to chase a condition it cannot reach.

Plan external and high-level access separately
Confirm which faces of the windows are included in the visit. Internal glass does not automatically include exterior panes, rooflights, conservatory roofs or glazing above a stairwell. Their access requirements may change the equipment, scheduling and scope substantially.
Do not lean from an opening, stand on furniture or improvise a reach across a void to complete a small remaining area. Ask the provider what access is proposed and whether building-management permission or a separate arrangement is needed. The opening mechanism itself may also impose limits.
For an assessment, discuss the window cleaning service with photographs of the whole opening, not only the dirty spot. Include the floor level, surroundings, external access and known coatings. Those details are as important to a useful estimate as the number of panes.
- Photographs of the full opening and surrounding access.
- Floor level and each glazing face requested.
- Known films, coatings and frame finish.
- Type of construction residue and any previous treatment.
Fit the window clean into the property handover
Schedule final glazing details after dusty trades and protection removal where possible. A window can look finished before the nearby wall is sanded or the floor covering is lifted. If work must continue, agree an interim purpose and a later inspection rather than promising a single permanent result.
The property handover checklist helps coordinate frames and glass with surrounding ledges and floors. Check the area after it is dry, record any specialist residue question and distinguish a removable film from damage or an installation issue.
Where several rooms need attention, the wider renovation cleaning scope can be discussed alongside the separate glazing requirements. Keep both descriptions clear: the final handover should explain what was cleaned, what was inaccessible and which marks need the installer’s next action.
Questions about this guide
Can I use a blade on every paint spot?
No. The pane, coating or film and the deposit need identification. A blade or trapped grit can damage the surface.
Are tracks included in every window quote?
Do not assume so. Confirm frames, sills, accessible tracks and each face of the glazing in the scope.
Why does a pane still look marked after cleaning?
Check whether the mark is on another face, is bonded residue or is a surface change. More treatment of the same accessible face may not address it.