

Renovation journal
A practical post-renovation cleaning checklist
A useful post-renovation checklist records a condition and a next action. It is more valuable than a long list of surfaces with a tick beside each one. A scratched pane, a cupboard full of tools and a dusty skirting board all need attention, but they do not need the same response or the same person.
- Inspect each room from entry to final floor edge
- Separate dust, residue, defects and unfinished work
- Record the responsible person and practical next step

Use this walkthrough after the contractor has made the property ready for ordinary cleaning. Adapt it to the actual rooms and agreed scope. It is a way to organise a whole-property handover, not a promise that every item belongs in one cleaning appointment. Keep photographs and product instructions alongside the checklist so that difficult marks can be assessed properly.
Begin at the entrance and follow the working route
Before looking at individual rooms, check how people and equipment enter the property. A dusty communal corridor, stacked packaging or tools by the front door can bring residue back inside. Confirm which entrance will be used and where cleaned equipment, used cloths and collected waste can be kept without blocking access.
Record stairs, narrow turns, lift rules and any newly finished surfaces along that route. A door frame can be damaged while bulky equipment is moved even when the room beyond is straightforward to clean. Tell everyone involved where protection must remain and who will remove it at the appropriate stage.
Inspect the outer edges of coverings for trapped grit and lifting tape. Do not pull protective material from a sensitive floor simply to tick a box. Ask the installer about removal and make that task part of the handover rather than an unplanned experiment.
Check living spaces in layers
Look at accessible upper ledges, joinery, shelving and fittings before the floor. Note dust on curtain poles, picture rails and the tops of doors, but do not assume every high surface is safely reachable. Equipment and access need to be agreed separately where ordinary floor-level cleaning is not sufficient.
For each room, distinguish exposed surfaces from areas concealed by belongings. Empty shelves and an open fitted cupboard present a different task from a packed bookcase. Decide whether contents will be removed, cleaned separately or left undisturbed. That choice affects both the time and the result.
Check switches and socket fronts externally without opening them. Exposed wiring, loose fittings and incomplete covers belong on the contractor’s list. For the collection sequence behind this walkthrough, the fine-dust guide explains equipment and surface limitations without treating every pale deposit as the same material.
Give the kitchen its own inspection sheet
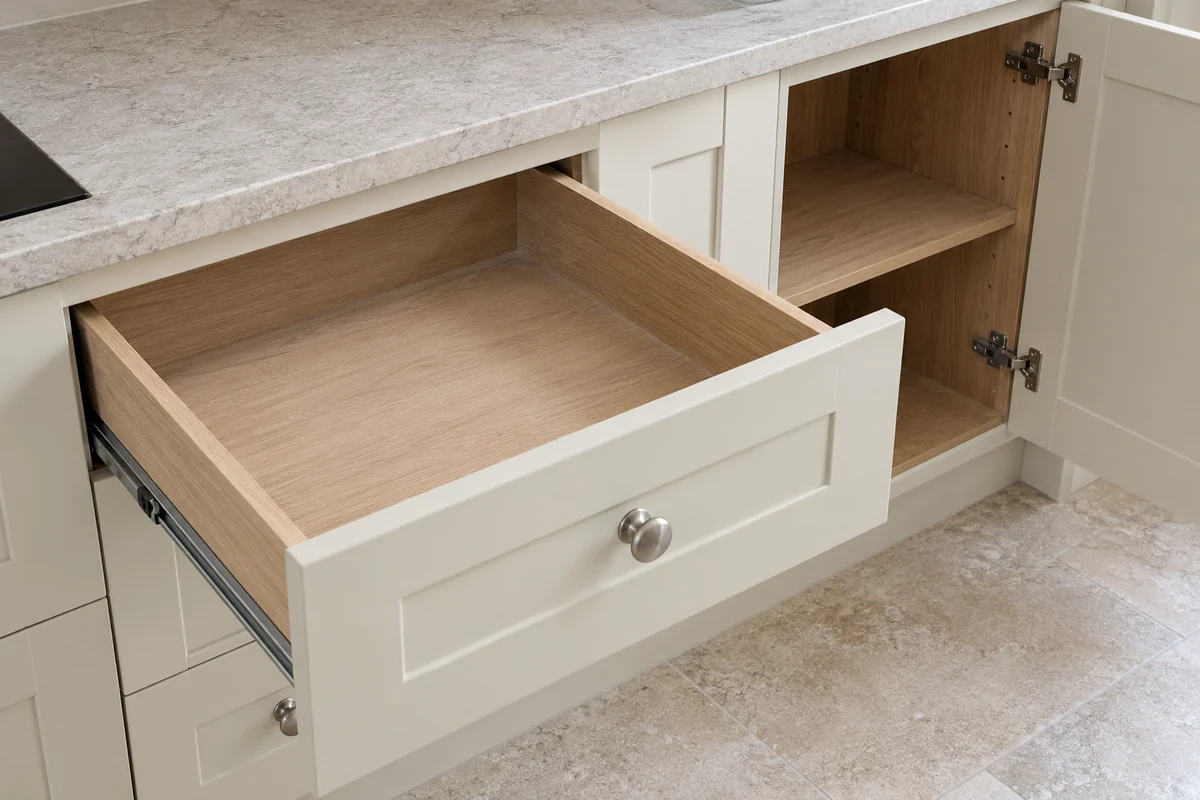
Open the units you intend to include and check the corners, shelf edges and drawer bases. Photograph any adhesive marks or manufacturing labels before removing them. Distinguish temporary protection from a permanent surface finish; an apparently removable film may be part of a decorative laminate or protective coating.
Inspect the worktop at joins, sink edges and around fitted appliances. Ask for the material specification and care instructions. Do not assume the same cleaner suits natural stone, engineered material, stainless steel and coated cabinet fronts. The installer should identify incomplete sealing or fresh adhesive that must remain undisturbed.
Record whether appliance interiors, extractors and cupboard contents are included. Check these details against the new-kitchen cleaning guide. A visually clean room can still have inaccessible areas behind fitted equipment, and a routine cleaning visit should not dismantle a new installation to reach them.
Look beyond the obvious bathroom surfaces
Check bath and basin surfaces, shower screens, taps, accessible tile faces and the edges around fittings. A remaining haze is not automatically ordinary dust. It may be grout residue, sealant or a change to the finish that needs the installer’s view before a product is applied.
Ask when grout and silicone can first be cleaned and which methods are permitted. Do not rub an uncured joint to make the handover photograph look neater. Missing sealant, leaks, loose fittings and damage belong to the installation record, with cleaning scheduled around their resolution.
Keep loose dust collection separate from disinfection. If a disinfectant is appropriate, it must be compatible with the surface and used according to its label. Mixing products or using stronger concentrations does not turn an unfinished bathroom into a completed one. Record any access restriction clearly so that it is not mistaken for a missed cleaning task.
Inspect glazing as a complete assembly
Check the pane, frame, sill and accessible track individually. Dust often collects where the glazing meets the frame, while paint or adhesive can remain on the glass itself. Photographs from different angles help distinguish a removable deposit from a scratch, but they cannot replace material information or a close inspection.
Identify coatings, films and newly installed seals before proposing a scraper or solvent. A method acceptable on one pane can damage another. External windows, rooflights and glazing above stairs require a separate access plan rather than a longer reach from unstable furniture.
The window cleaning service can be discussed separately from general dust cleaning. Make a note of which faces of the glazing are included, how the frames will be addressed and whether construction residue requires additional assessment.

Review floors after the surrounding details
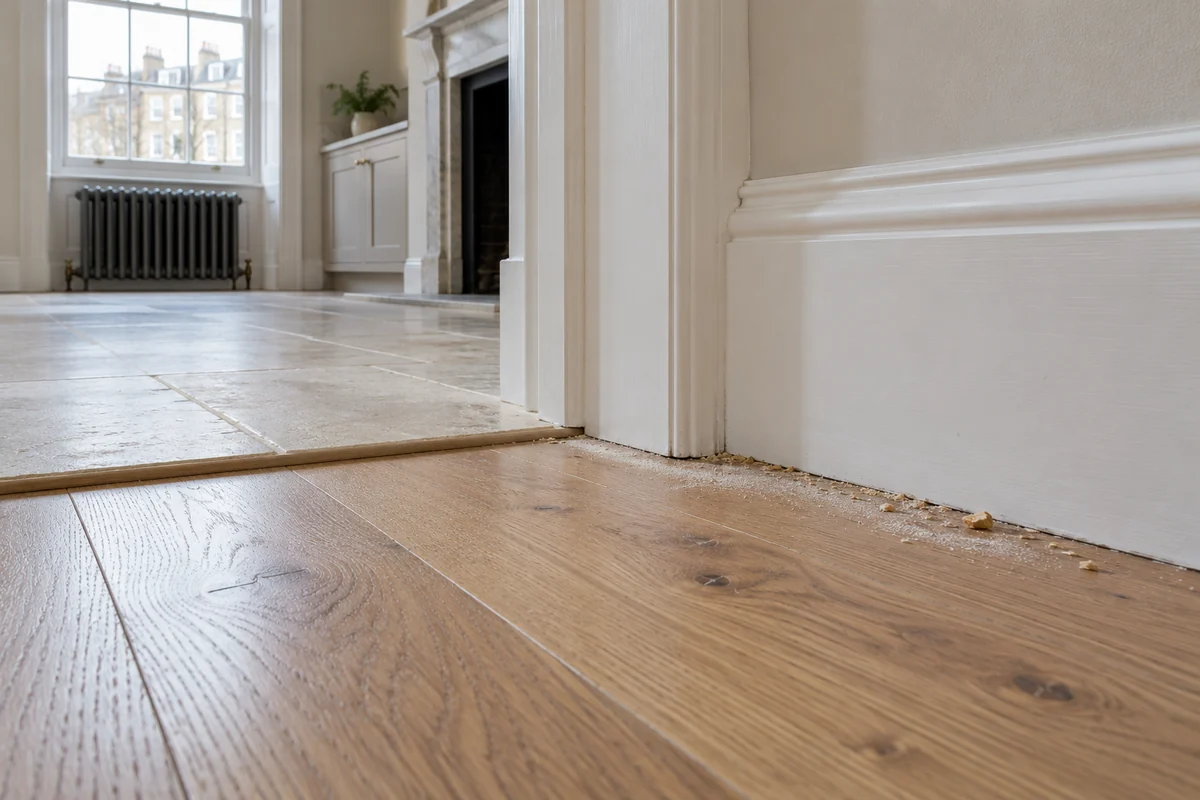
Walk the perimeter and thresholds as well as the centre of each room. Note grit, offcuts, paint deposits and the edge where protection was removed. A vacuum attachment or mop that is already dirty can carry grit between surfaces, so the cleaning plan should account for equipment condition as well as the floor material.
Obtain instructions for newly fitted timber, laminate, resilient flooring, tiles or stone. Include the finish and installation stage, not just the broad material name. Ask whether water, detergent, steam or a machine is permitted and whether any adhesive or sealant restrictions still apply.
After cleaning, inspect dry surfaces in usable light. Distinguish a remaining film from an abrasion, a finish variation or a damaged board. Record defects for the installer instead of demanding repeated scrubbing that could enlarge the problem.
Keep fabric and equipment tasks separate
Curtains, rugs, upholstery and blinds may need their own care decisions. Read labels and agree what can be vacuumed, washed or treated by a specialist. Do not assume that a general room clean includes wet extraction of every fabric or that a deodorising spray addresses construction residue.
Electronics and ventilation equipment also need boundaries. Clean accessible exteriors only by the appropriate instructions, and ask the relevant maintenance provider about internal dust or filter replacement. Never remove electrical covers or operate a system without required components to complete a cosmetic checklist.
If retained items are still boxed, decide where they will be unpacked after the clean. Dusty packaging can reintroduce residue. A useful checklist includes the return of belongings because the room is not used in the same condition in which it was photographed empty.
Use the checklist to close the handover fairly
Use one line for each item: room or area; surface; observed condition; agreed task; responsible person; restriction or next action. For example: “Bedroom; internal sill; loose dust; clean after the painter finishes; cleaning team; keep the window mechanism closed.”
Review the full property with the agreed scope before treating the clean as complete. Flag areas that were blocked, not ready or changed by later work. A clean can remove agreed dirt; it cannot certify building compliance, repair scratches or establish the absence of hazardous contamination.
For a managed appointment, share this record with the after builders cleaning service and use the preparation guide to settle access and timing. The objective is a property whose next steps are understood, including the few items that properly remain with an installer or specialist.
- Room and surface: identify the exact location.
- Condition: loose dust, bonded residue, blocked access or damage.
- Task: state the agreed cleaning action or inspection needed.
- Responsibility: name the relevant contractor, owner or provider.
- Restriction: record curing, material or safe-access limits.
| Location | Useful handover note | Next action |
|---|---|---|
| Kitchen drawer | Interior blocked by retained tools | Owner or contractor clears before agreed clean |
| Bathroom joint | Fresh sealant beside dust | Installer confirms readiness before cleaning |
| Window pane | Raised paint mark on coated glass | Assess material; do not assume scraper-safe |
| Floor threshold | Grit beside removed protection | Collect by suitable method before permitted wash |
Questions about this guide
Is this an end-of-tenancy checklist?
No. It focuses on building residue, new materials and contractor handover. Tenancy obligations and inventory standards are a separate matter.
Should every item be included in a cleaning quote?
Only the tasks agreed for that visit. Waste, external access, specialist residue and fabric treatment may need separate arrangements.
Can I use the checklist before builders finish?
Yes, to plan the handover and identify access problems. Keep a later review for conditions that change as the final work is completed.