

Renovation journal
Cleaning after plastering without damaging new finishes
Plastering leaves more than a white film on the floor. Mixing, application, trimming and later sanding create different residues, while the new wall itself may still be drying or waiting for decoration. Cleaning everything with one wet cloth can move the mess without resolving it and may interfere with unfinished surfaces.
- Distinguish loose sanding dust from bonded plaster
- Finish dusty follow-on work before the final pass
- Protect floors, painted edges and uncured material
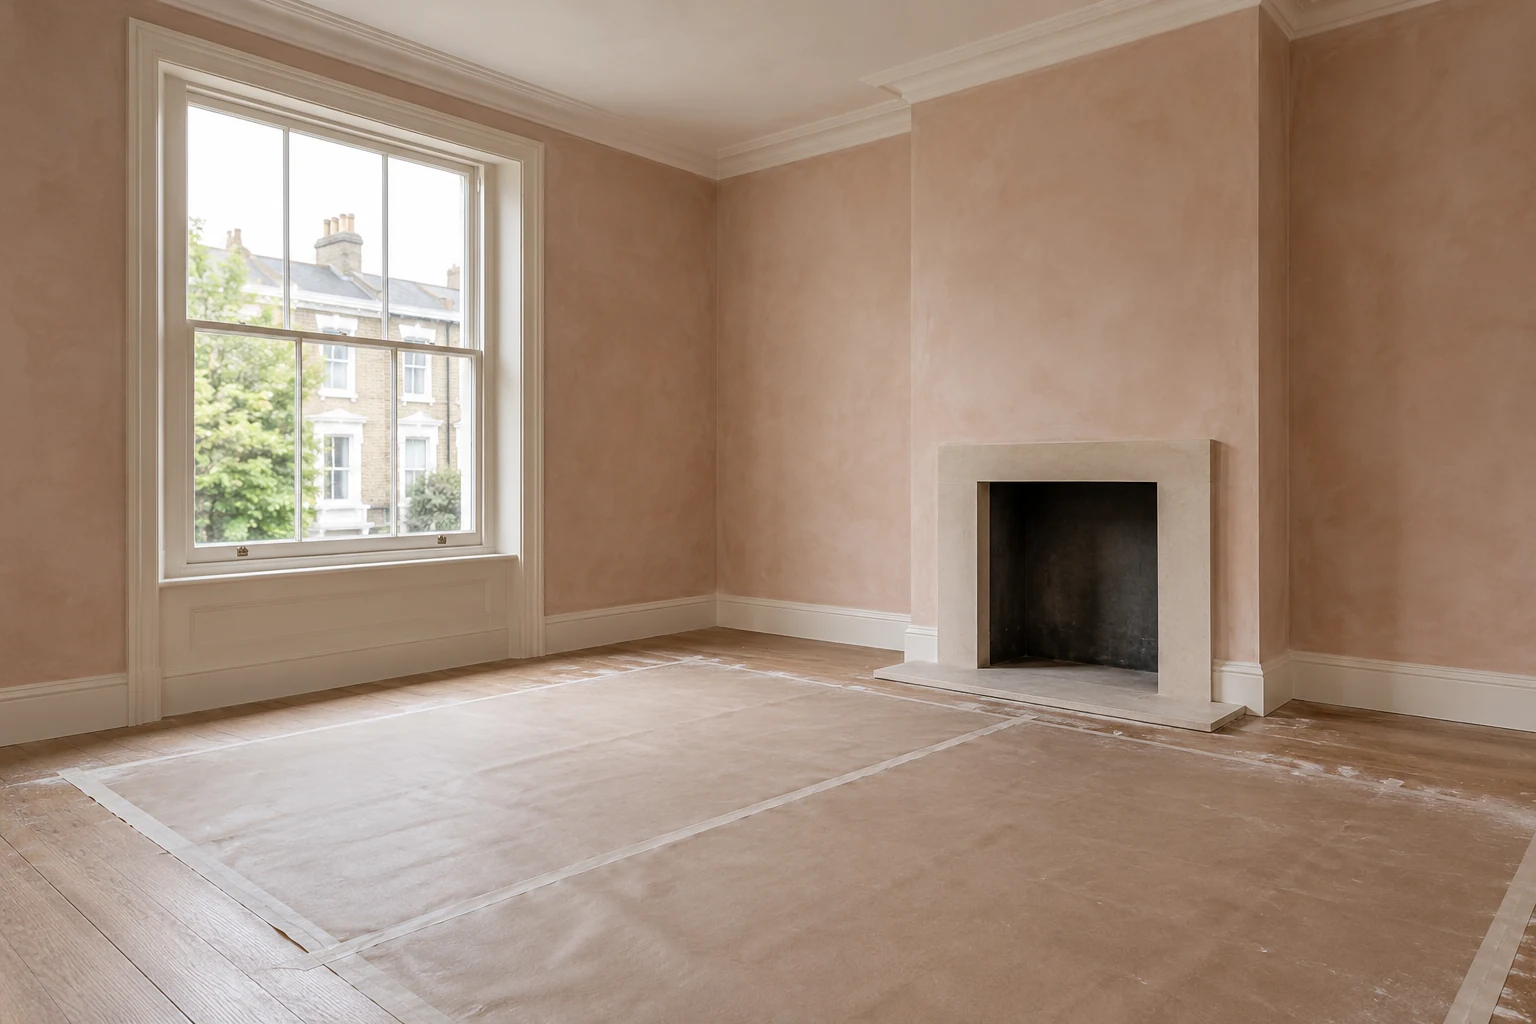
The useful starting point is to ask what stage the plastering has reached. This guide concerns the clean around completed, assessed work. It distinguishes ordinary loose dust from bonded deposits and fresh plaster, and explains why the plasterer’s and surface manufacturer’s instructions matter more than a fixed internet timetable.
Identify the stage before booking the clean
Ask whether the work is a fresh skim, a repair, a patch around services or part of a larger refurbishment. Find out whether sanding, chasing, drilling or decoration remains. A clean after the plasterer leaves can be useful, but it is not the final dust clean if other trades are about to disturb the same surfaces.
Do not judge readiness only by the wall looking pale. The system, thickness, substrate, ventilation and conditions all affect the work programme. Ask the plasterer when nearby cleaning can take place and ask the decorator about any later surface preparation. Cleaning cannot shorten a drying requirement by scrubbing a wall or directing equipment at it.
If the project also disturbed old coatings or other unknown materials, refer questions to the contractor before ordinary cleaning starts. The deposit’s white colour does not establish its composition or the appropriate control method.
- Is further sanding or chasing planned?
- Which surfaces have been released for ordinary cleaning?
- Who will remove protection and collect remaining plaster waste?
Keep the wall itself out of a routine dusting assumption
Fresh plaster is not a washable household finish. Avoid treating it as though it were a cured painted wall. Rubbing, wetting or brushing can mark the surface, and uneven treatment may affect the appearance of later decoration. Ask the plasterer to deal with unfinished edges or deposits attached to the new work.
Once a wall is decorated, follow the paint manufacturer’s care and curing guidance before any cleaning. Touch-dry is not the same as ready for washing. A patch test should not become permission to scrub a surface whose instructions rule cleaning out at that stage.
Keep the inspection specific: dust on a finished skirting board, a splash on a protected floor and a blemish in fresh plaster are different items. That distinction helps the right person respond and prevents cleaning from becoming an attempt to correct the plaster finish.
Remove protection with a plan for what it holds
Dust and crumbs collect on sheeting and at taped edges. Moving a covering quickly can distribute them across a room that was otherwise protected. Agree removal with the contractor and flooring installer, particularly when other trades still need access or tape touches a sensitive finish.
Keep loose sharp fragments and heavy debris separate from the detailed cleaning route. Do not drag a loaded sheet across newly laid timber or shake it in a stairwell. Packaging and retained offcuts should be sorted before general collection so that useful matching materials are not lost.
Where clearance is substantial, discuss separate building-waste collection and confirm the actual materials involved. A cleaning estimate should not silently include lifting every plaster sack, removing unknown waste or deciding which leftover products the owner intended to keep.
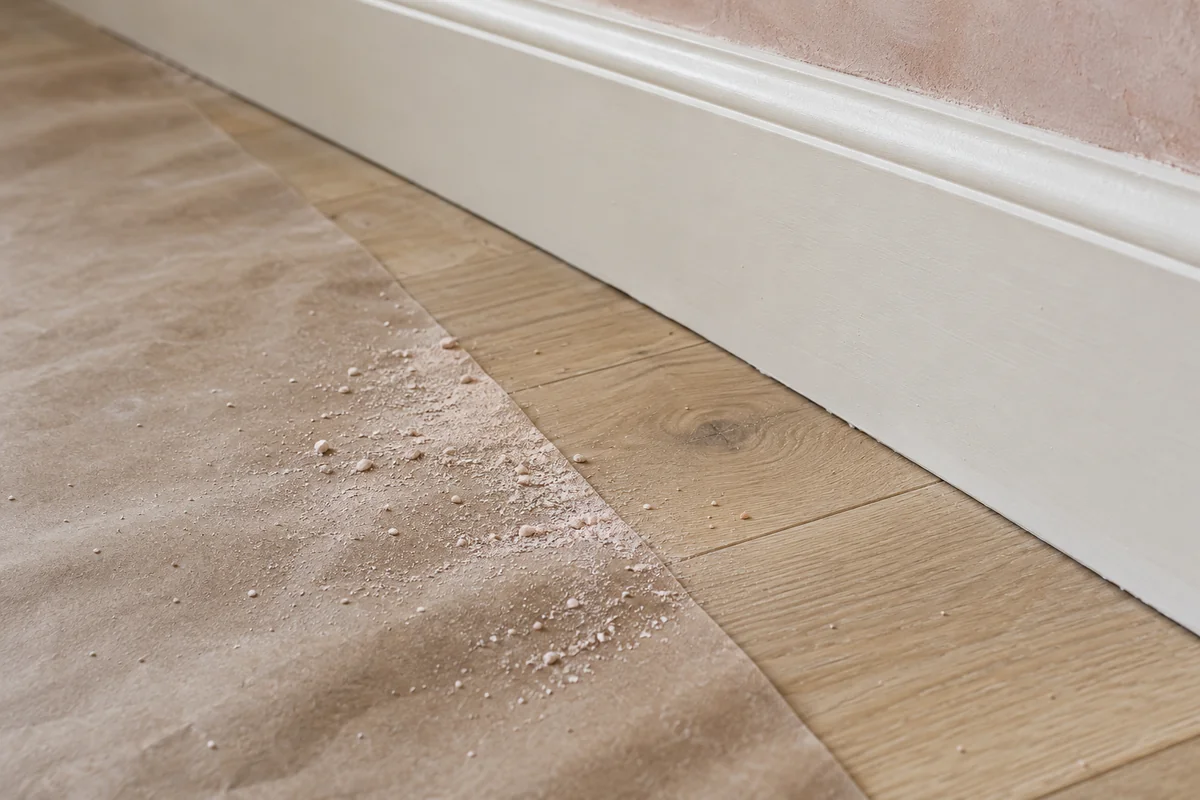
Collect loose dust without raising a new cloud
Choose the collection method according to the assessed task. A suitable vacuum and compatible attachments may be appropriate for ordinary loose residue; dry sweeping and compressed air can lift particles back into the room. Equipment suitability depends on the dust and the complete collection system, not simply a filter label or motor rating.
Work around accessible upper ledges and joinery before the floor, without touching unfinished wall surfaces. Check skirting tops, door frames and cupboard edges in neighbouring rooms. Change loaded cloth faces and clean equipment attachments so that residue does not travel from one finish to another.
For a fuller account of the method and its limits, see the guide to fine construction dust. Ordinary cleaning is not hazardous-material clearance. Unknown deposits or visible uncontrolled dust call for an assessment of the work, rather than a more determined household clean.
Assess a plaster splash before choosing a product
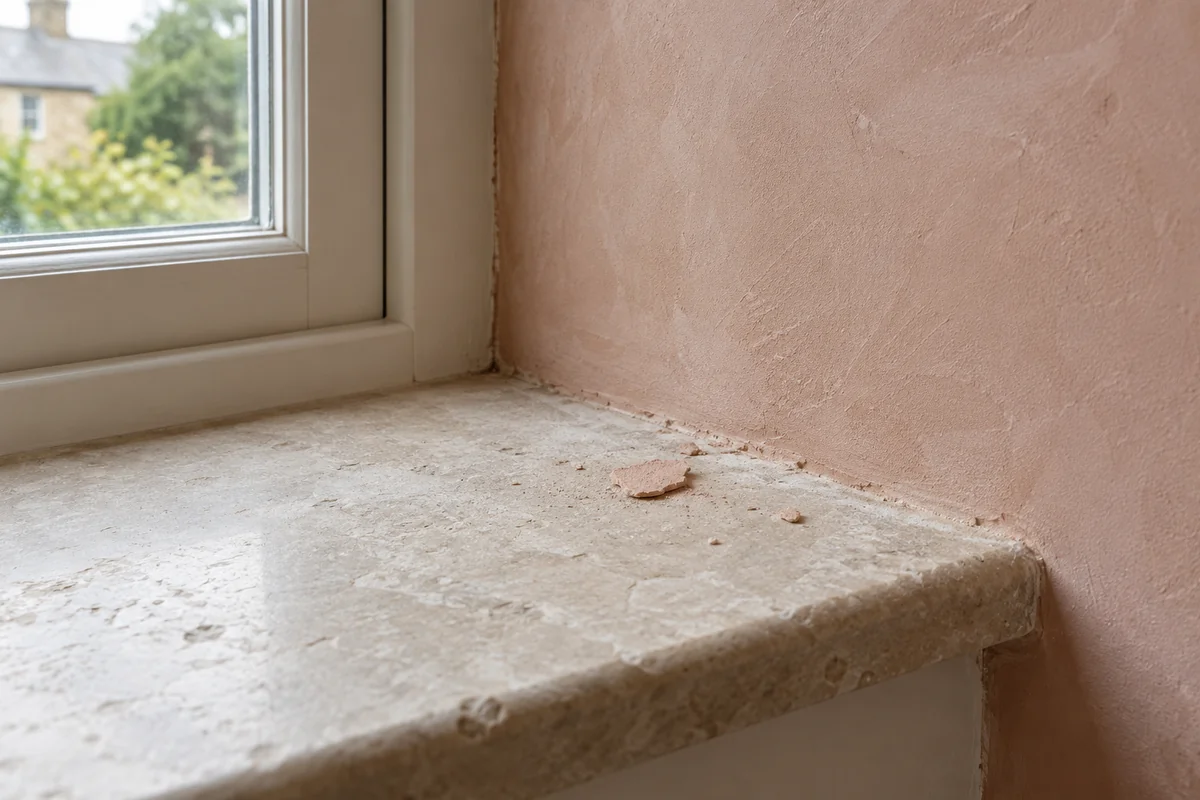
A loose crumb and a hardened deposit should not receive the same treatment. First identify the substrate: coated glass, a stone worktop, an acrylic bath and an oiled floor can react very differently. Ask what the plaster product is and whether the surface has a protective film or a curing finish.
Do not apply a general acid, vinegar, abrasive pad or metal scraper merely because a deposit looks mineral. These methods can damage the material underneath or create a more visible patch. A compatible treatment, where permitted, needs product instructions and a controlled test, with the area checked after drying.
If the deposit resists an appropriate gentle method, stop and involve the installer or a relevant specialist. The residue assessment guide explains how to record material and condition before a stronger intervention is considered.
Pay attention to floor edges and thresholds
Plaster residue gathers where the protective covering ended, beside skirting and under an open door. Inspect those areas before moving equipment over them. Grit under a mop head or hard attachment can mark a finish even if the cleaning solution itself is compatible.
Collect loose material before any floor wash, using equipment suitable for the assessed residue and finish. For newly installed flooring, follow the fitter’s first-clean restrictions; the new-floor guide explains what to check.
Work in manageable areas and avoid carrying loaded water through finished rooms. If a pale haze remains after drying, investigate whether it is residue, detergent film or a surface change. Repeating the same treatment with more pressure is not a diagnosis. The new-floor guide gives a separate material-based inspection sequence.
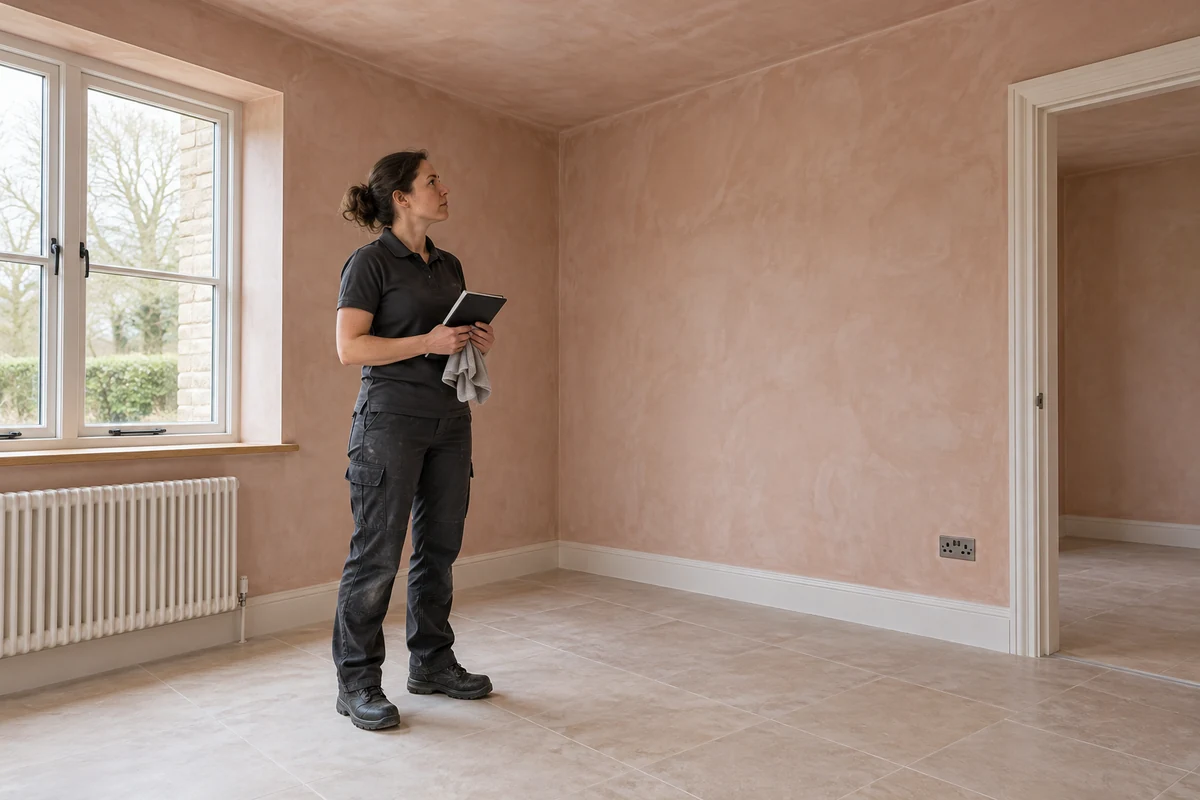
Check fittings without dismantling the room
Dust can rest on accessible sill tops, handles, radiator exteriors and the outside of ventilation grilles. Clean within the agreed access and material limitations. Do not remove socket fronts, work on exposed wiring or push wet cloths into fittings to reach every visible edge.
Kitchen and bathroom fittings may have been protected throughout plastering, but particles can gather around covers and joins. Remove temporary protection only with the installer’s agreement and keep water away from uncured sealants. A finished-looking room can still contain components that are not ready for cleaning.
For ventilation or heating equipment, ask the maintenance provider about internal contamination, filters and commissioning requirements. Dust on the grille does not establish the condition of the whole system. A general cleaning visit should state where exterior cleaning ends and specialist maintenance begins.
Arrange the final pass around the remaining work
Inspect after the room has dried from any permitted damp cleaning. Check ledges, joinery and the route to adjoining spaces. If new dust appears, ask whether sanding resumed, covers were moved or materials were unpacked. There is no universally effective instruction to wait exactly a day and repeat everything.
Share the completion programme, photographs and care instructions when discussing a clean after plastering and renovation. Agree the surfaces included, any separate residue treatment and what remains with the trades. This avoids an estimate based on light dust turning into an expectation of restoring every finish.
Use the pre-visit handover guide for access, keys and utilities. The best final pass follows a stable room condition, with dusty work complete and the new materials ready for the methods actually proposed.
Questions about this guide
Can I wipe a new plaster wall?
Ask the plasterer. New plaster is an unfinished surface, and cleaning it like a cured painted wall can leave marks or interfere with later work.
Is all white building dust plaster?
No. Colour is not a reliable identification method. Ask the contractor what materials and activities produced the deposit.
Should I use vinegar on hardened plaster?
Do not use a general acid recipe. The residue and substrate both need identification; acidic or abrasive treatment can damage nearby finishes.